


Introduction
Adding search to a website is a great way to increase page views and conversions. With the help of Algolia, you can easily integrate search into your Next.js application. In this article, we will walk through the process of adding Algolia Search to Next.js.
What is Algolia?
Before we implement InstantSearch into our project, let's take a quick look at what Algolia is, and why you should (or shouldn't) use it. When I first heard of Algolia, I thought, "A company built around searhcing? Who would use that!". However, as I did some more research, I found that Algolia offers more than a simple search api. Algolia's two main services are Algolia Search and Algolia Recommend. Let's take a brief look at each of them.
Algolia Search
Algolia Search is their first main product. It allows you to "deliver relevant content to users in milliseconds with our powerful search API" - algolia.com.
Inside of Algolia Search, they offer sub services to help you integrate their search api. Some of these services include Crawler, InstantSearch, and more! In this article, we will be using Algolia's InstantSearch service.
Deliver relevant content to users in milliseconds with our powerful search API
InstantSearch
InstantSearch is "a set of UI components that help developers design the perfect Search & Discovery experience for your business, for any device." - algolia.com. We will be custimizing the InstantSearch components to our needs. InstantSearch also provides the following features:
- Search as you type
- Sorting
- Pagination
- Federated Search
- And more!
Algolia Recommend
With Algolia Recommend, you can build a "unique AI-powered product recommendation engine for personalized ecommerce experiences using a simple and flexible machine learning api" - algolia.com. Implementing Recommend is usually the next step after integrating Algolia Search. It can be very powerful and increase conversions. We'll save that for another article though.
Build a unique AI-powered product recommendation engine for personalized ecommerce experiences
If you want to learn more about Algolia Search, Algolia Recommend, or any of their other products, you can visit the Algolia website.
I Have a Small Project - Why Should I use Algolia?
This was one of the questions I had when I first heard of Algolia. I figured if a site has a couple hundred articles, it would be easy to use a simple useState hook and implement search yourself. However, even for a small project, I found that Algolia outperforms other solutions.
It's Free!
... up to 10k queries per month. For a small project, you are unlikely to hit this limit.
Quick to Get Started
You can get up and running with Algolia's InstantSearch in 15 to 30 minutes.
Automate Search Results
You can create a script that will automatically put the articles into the search. This way, you can have a search that is always up to date.
More Than Title and Description
You can allow users to search for more than just the title or description. You can add more fields such as tags, author, and even headings from the article! Doing this with useState would be very difficult and slow.
Searches Don't Need Exact Spelling
If my article title is "Top Ten Pros of Next.js" and you search "Top Ten Pros of nextjx" or "Top 10 Pros of Next.js" a useState hook would not show that article but Algolia would. Note the spelling of 10 vs ten and nextjs vs next.js.
Searches can be Ranked
You can make popular posts appear higher in the search results. This is a great way to help users find the most relevant articles that they are more likely to enjoy.
Analytics
You can see what your users are searching for and which results have no search results.
After hearing these pros, if you want to use Algolia continue reading!
Getting Started
The first thing you'll want to do is set up a new Next.js project if you don't have one already. Next.js is a JavaScript framework built on top of React. If you are using another React based framework, you should be able to follow along just fine. If you are using a non React framework, this will still work but you may need to modify some code.
Here are the steps we will be taking to implement InstantSearch into our Next.js project:
- Create an Algolia application
- Create an Algolia search index
- Add articles to this index via code
- Add the UI
Create an Algolia Application
First, go ahead and create an Algolia account if you do not already have one. Then, create a new application. You can do this by clicking the dropdown in the upper left hand corner of the screen and then selecting "+ create application". Go ahead an give the application a name if you would like.
Next, be sure to change the subscription from pay as you go to free! You can always upgrade later if you need higher limits.
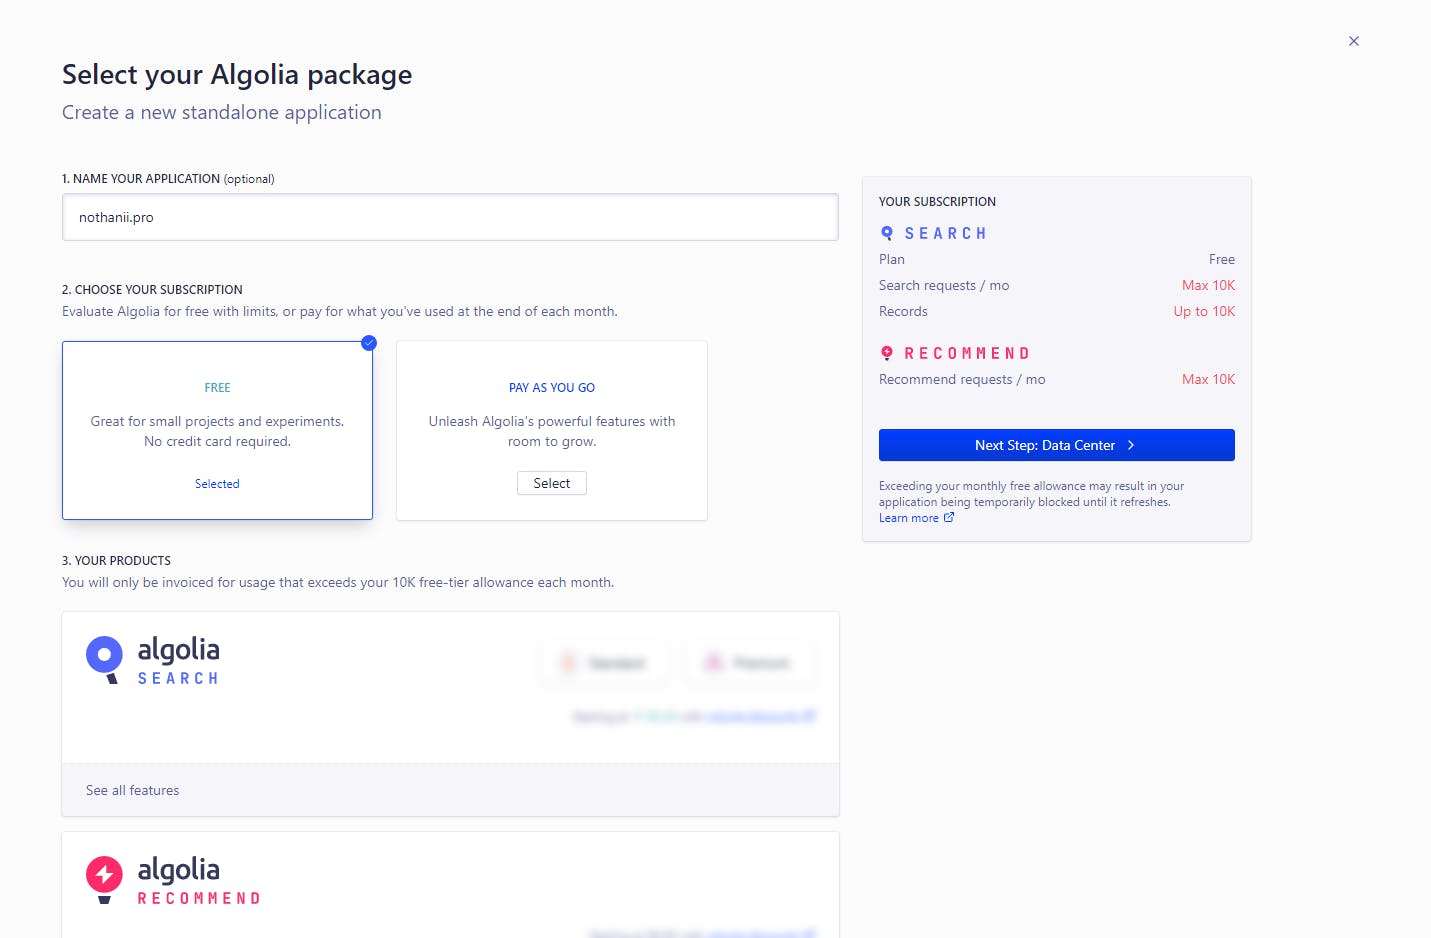
Next, select a region for your datacenter. This is where your data will be hosted. Ideally, you should choose the data center which is closest to your users. You can always change this later.
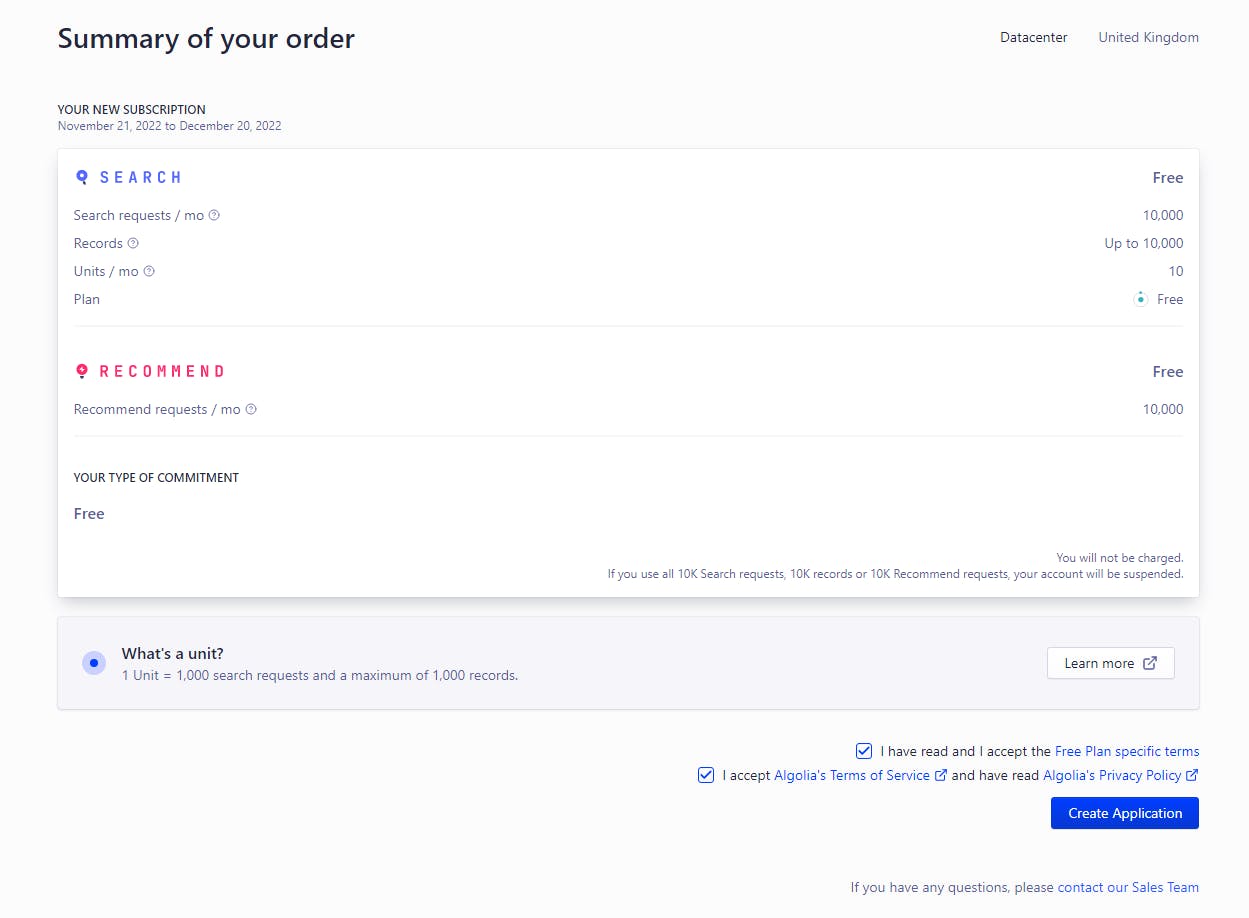
Finally, agree to the terms and create the application! If you have selected the free tier, like I did, you will not be charged once you hit 10k requests. Your account will simply be suspended until you upgrade.
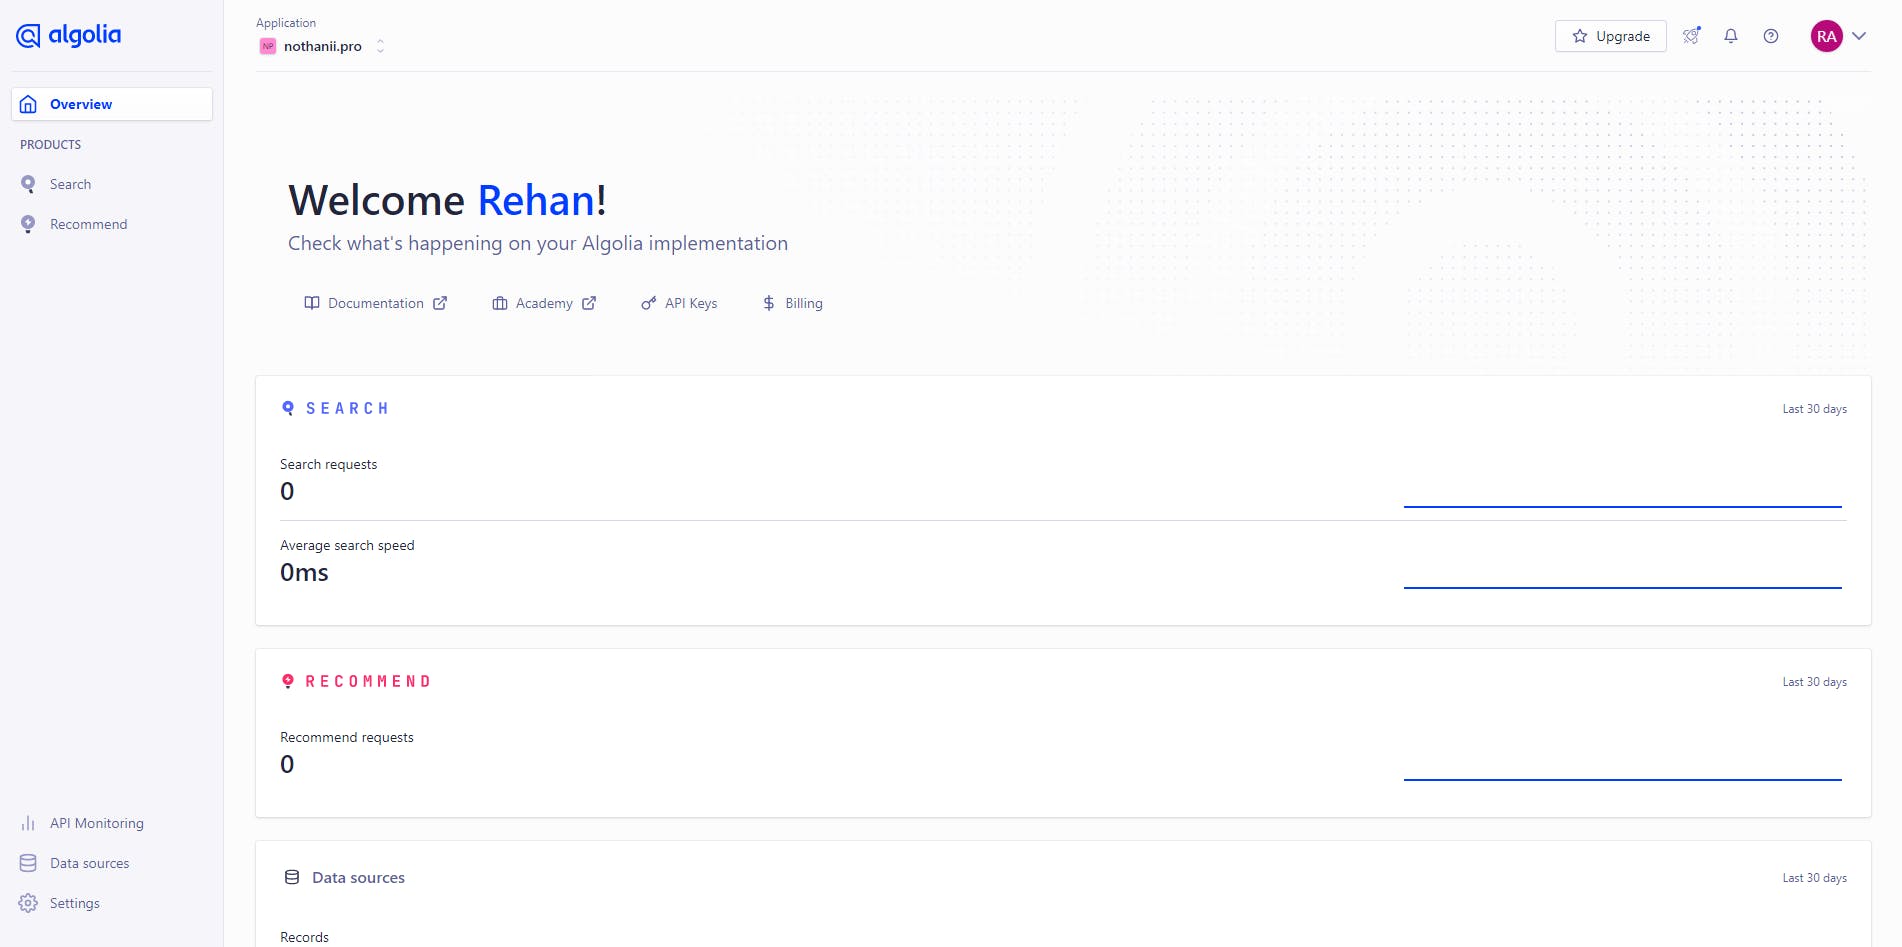
After you create the application, click no for the tour. You will then be brought to your application overview.
Create a Search Index
Search records are stored inside of an index. Scroll down to the bottom of the overview page and click "See all" right under the Top Indices box. From this page we can create a new index. Enter an index name and click create.
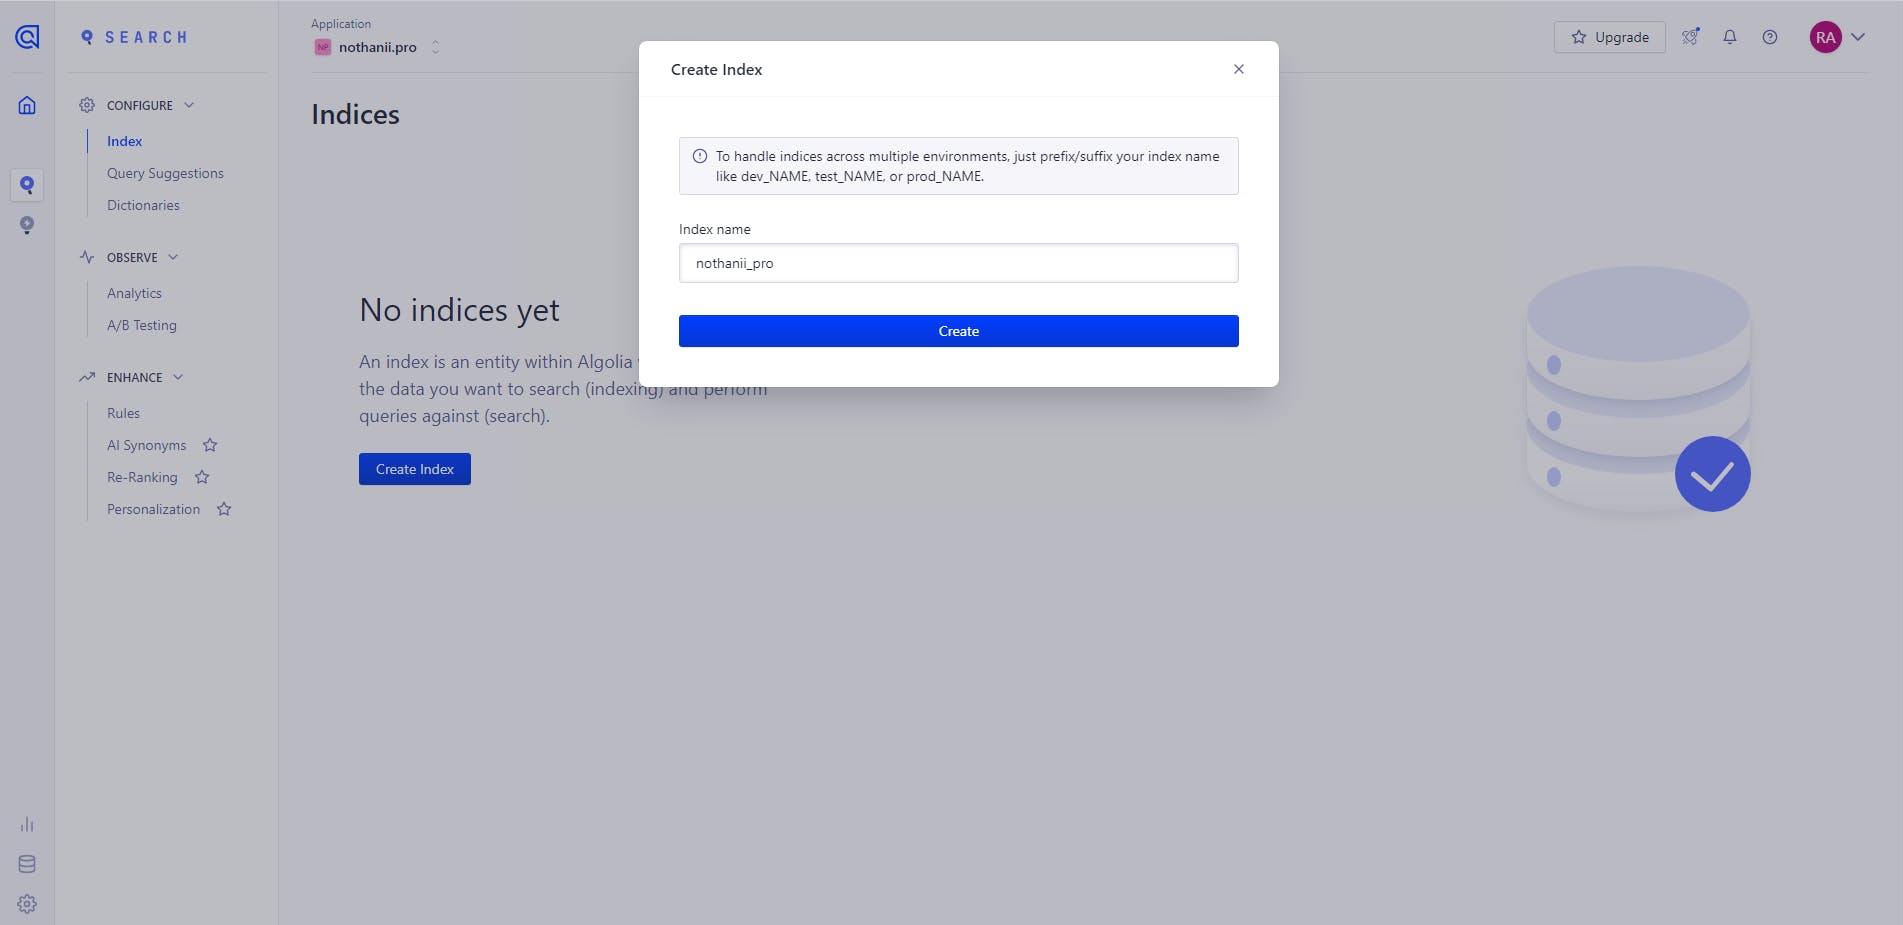
We can now add records to the Index!
We can add records in 3 ways:
- Upload a file
- Use the API
- Add records manually
We will be using the API for this article becuse it will allow us to add additional records with ease.
Add Records Using the API
Before we leave the algolia site, go ahead and make note of the three api variables we will need. Open up settings (top right corner). We will need the following keys:
- Application ID, we'll call this NEXT_PUBLIC_ALGOLIA_APP_ID
- Search-Only API Key, we'll call this NEXT_PUBLIC_ALGOLIA_SEARCH_API_KEY
- Admin API Key, we'll call this ALGOLIA_SEARCH_ADMIN_KEY
Go ahead and open up your Next.js app inside of the IDE of your choice. Create a file .env and paste the three api keys inside.
NEXT_PUBLIC_ALGOLIA_APP_ID=xxx
NEXT_PUBLIC_ALGOLIA_SEARCH_API_KEY=xxx
ALGOLIA_SEARCH_ADMIN_KEY=xxx
Replace xxx with your actual values. Be sure to restart your app for these changes to take effect.
Create a file named build-algolia-search.js. Inside of here is where we will dynamically and programmatically add the search records.
Import dotenv and algoliasearch. You will need to install these if you do not already have them.
yarn add dotenv algoliasearch
const dotenv = require("dotenv");
const algoliasearch = require("algoliasearch/lite");
Next, let's test for the two api keys we will be using and make sure they are defined.
const dotenv = require("dotenv");
const algoliasearch = require("algoliasearch/lite");

try {
    dotenv.config();

    if (!process.env.NEXT_PUBLIC_ALGOLIA_APP_ID) {
        throw new Error("NEXT_PUBLIC_ALGOLIA_APP_ID is not defined");
    }

    if (!process.env.ALGOLIA_SEARCH_ADMIN_KEY) {
        throw new Error("ALGOLIA_SEARCH_ADMIN_KEY is not defined");
    }
} catch (error) {
    console.error(error);
    process.exit(1);
}

console.log("It works!")
You can now run this script by using node ./src/scripts/build-algolia-search.js. I am using ./src/scripts because I have the following folder structure:
├── src
│   ├── pages
│   ├── components
│   ├── ...
│   ├── scripts
│   │   └── build-algolia-search.js
├── package.json
├── ...
├── README.md
├── package.json
└── .env
If your script file is in a different location, update the command accordingly. If this script prints out "It works!", you have everything configured correctly so far!
Query Your Posts
The next step is to grab all of your posts(or whatever data you want to be indexed for search). This will be different depending on where they are stored. For me, I use .mdx files stored locally.
// imports and try/catch loop here

const CONTENT_PATH = path.join(process.cwd(), 'content/articles')
const contentFilePaths = fs
    .readdirSync(CONTENT_PATH)
    // Only include md(x) files
    .filter((path) => /\.mdx?$/.test(path))

async function getAllBlogPosts() {
    const articles = contentFilePaths.map((filePath) => {
        const source = fs.readFileSync(path.join(CONTENT_PATH, filePath))
        const { content, data } = matter(source)

        return {
            content, // this is the .mdx content
            data, // this is the frontmatter
            filePath, // this is the file path
        }
    })

    return articles
}
Again, getting your posts will most likely be different depending on where they are stored. However you fetch them, just make sure the getAllBlogPosts function returns them as an object.
Transform The Data to Algolia Format
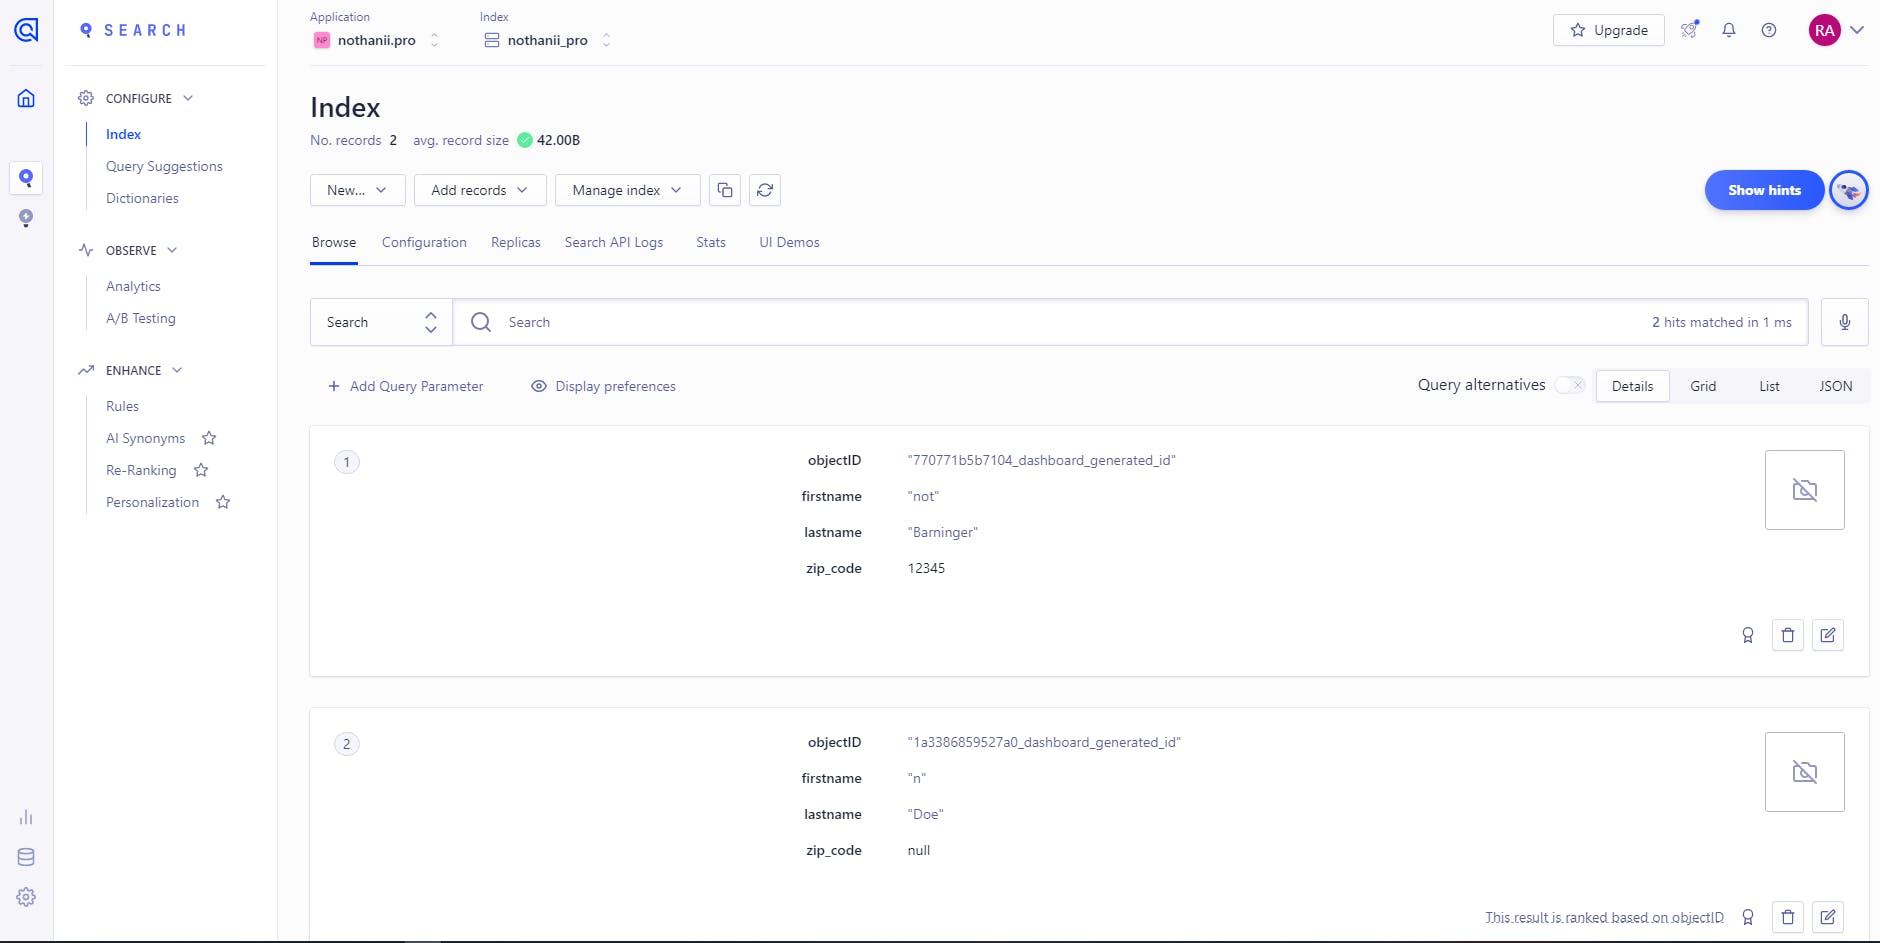
Next, we need to transform the data to a format that Algolia can understand. The format we need is JSON format. Here is an example from Algolia themselves:
[
  {
    "firstname": "Jimmie",
    "lastname": "Barninger",
    "zip_code": 12345
  },
  {
    "firstname": "John",
    "lastname": "Doe",
    "zip_code": null
  }
]
Add the following function to our script under everything we have so far:
function transformPostsToSearchObjects(articles) {
    const transformed = articles.map(article => {
        return {
            objectID: article.data.title,
            title: article.data.title,
            description: article.data.description,
            slug: article.filePath,
            tagsCollection: { tags: article.data.tags }, // we can nest objects in Algolia!
            date: article.data.publishedAt,
            type: 'article',
            // ...
        };
    });

    return transformed;
}
The above function takes in an article and extracts data we want to index. The data might be different depending on how it is stored. For example, article.data.title might not work. I suggest console logging the getAllBlogPosts function to see what your data looks like.
A couple of things to note:
- None of the fields above are required
- You can nest objects like you see in the example above with
tagsCollection
Now, let's actually call these functions and add the data to the index!
// everything we did so far is here

(async function () {
    // initialize environment variables
    dotenv.config();

    try {
        const articles = await getAllBlogPosts();
        const transformed = transformPostsToSearchObjects(articles);

        // initialize the client with your environment variables
        const client = algoliasearch(
            process.env.NEXT_PUBLIC_ALGOLIA_APP_ID,
            process.env.ALGOLIA_SEARCH_ADMIN_KEY,
        );

        // initialize the index with your index name
        const index = client.initIndex("nothanii_pro");

        // add the data to the index
        const algoliaResponse = await index.saveObjects(transformed);

        console.log(
            `Successfully added ${algoliaResponse.objectIDs.length} records to Algolia search! Object IDs:\n${algoliaResponse.objectIDs.join(
                "\n",
            )}`,
        );
    }
    catch (err) {
        console.error(err);
    }
})();
When you run this script, you should see the objectIDs printed out. If you navigate to your Algolia index, you should see your data.
Add Script to package.json
Because we have this as a script, we can add it to the package.json file. This will run every time you run yarn build or deploy your app. This way, whenever you add new posts, they will automatically be added to the index without any work from you.
// ...
"scripts": {
    "dev": "next dev",
    "build": "next build",
    "postbuild": "node ./src/scripts/build-algolia-search.js", // this is our script
    "start": "next start"
  },
// ...
Add the UI
Now that the data is indexed, we can add the UI and allow users to search. Add the following package:
yarn add react-instantsearch-dom
Inside of your app, preferably inside a components folder, add the following three files, Search.js, Hits.js, and SearchBox.js.
Hits are what Algolia calls the "results" of your search.
Inside of Search.js, we will add the InstantSearch UI from Algolia, Hit.js will be the results, and SearchBox.js will be the search box.
Let's first add the following inside of Search.js:
// import algoliasearch and InstantSearch
import algoliasearch from "algoliasearch/lite"
import { InstantSearch } from "react-instantsearch-dom"

// Initialize the Algolia client
const searchClient = algoliasearch(
    process.env.NEXT_PUBLIC_ALGOLIA_APP_ID,
    process.env.NEXT_PUBLIC_ALGOLIA_SEARCH_API_KEY,
)

return (
        <>
            <InstantSearch
                searchClient={searchClient} // this is the Algolia client
                indexName="nothanii_pro" // this is your index name
            >
                <SearchBox />
                <Hits />
            </InstantSearch>
        </>
    )
}
Above, we are initializing our client and returning a basic UI which uses InstantSearch from Algolia. Let's create the SearchBox and Hits components.
// import connectSearchBox
import { connectSearchBox } from "react-instantsearch-dom"

function SearchBox({ refine }) {
    return (
        <>
            <input
                id="algolia_search"
                type="search"
                placeholder="Search for articles!"
                onChange={(e) => refine(e.currentTarget.value)}
            />
        </>
    )
}

export default connectSearchBox(SearchBox)
The above code is a simple search box. Now, lets create the Hits component so we can display the results.
import { connectStateResults } from "react-instantsearch-dom"

function Hits({ searchState, searchResults }) {
    const validQuery = searchState.query?.length >= 3 // 3 is the minimum query length

    return (
        <>
            {searchResults?.hits.length === 0 && validQuery && (
                <p>No results found!</p>
            )}

            {searchResults?.hits.length > 0 && validQuery && (
                <>
                    {searchResults.hits.map((hit, index) => (
                        <div tabIndex={index} key={hit.objectID}>
                            <p>{hit.title}</p>
                        </div>
                    ))}
                </>
            )}
        </>
}

export default connectStateResults(Hits)
Now, if you search in the box, you should see the results!
Conclusion
In this article we learned what Algolia is, looked at some pros, and added InstantSearch to a Next.js website.